IoT - Raspberry Pi Basic Setup
![]()
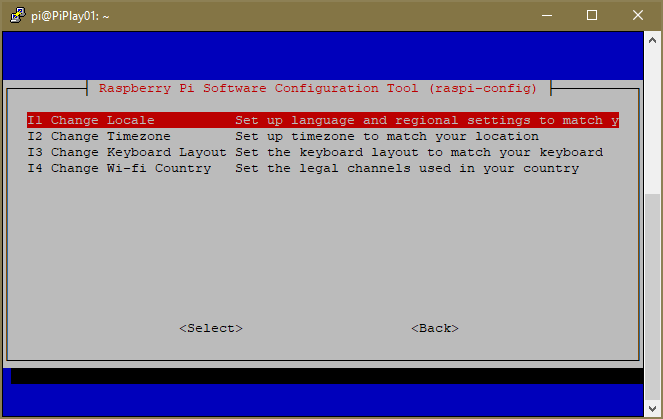
Localization Options
Sign in to your Pi with the username “pi” and the password “raspberry.” Once in Terminal type the following:
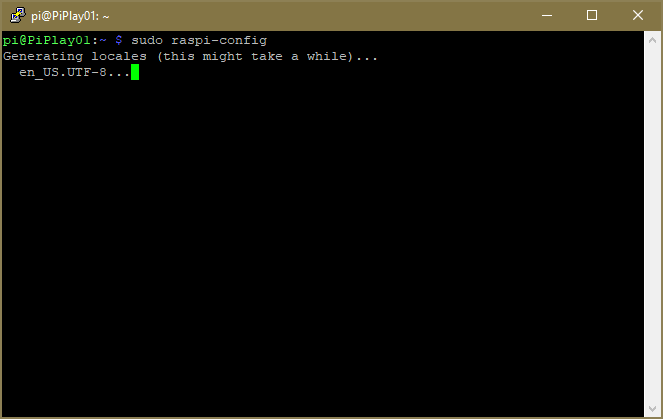
$ sudo raspi-config
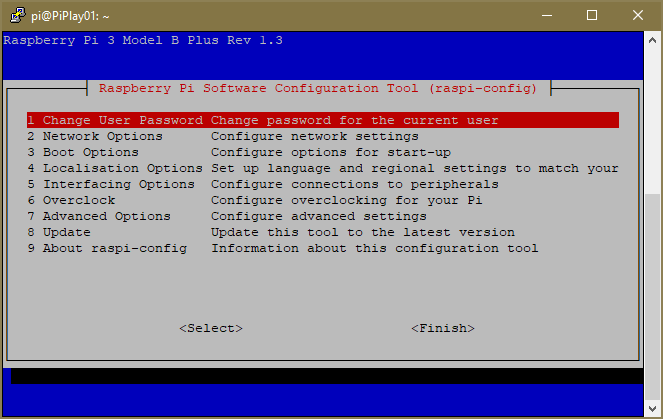
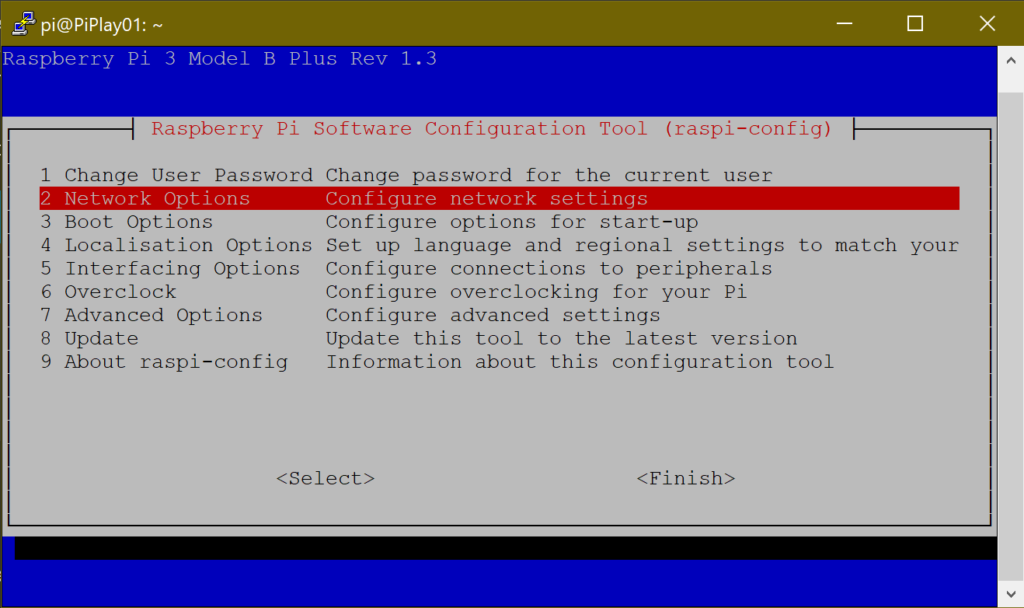
This will open up the Raspberry Pi’s configuration menu and options. Take a moment to read each line and familiarize yourself with all the options.

First, navigate to the “Localization Options” and then “Change Locale.”
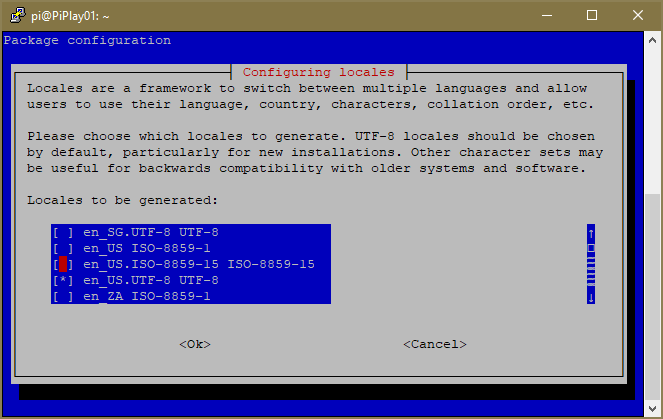
Select your locale from the list. Make sure to de-select the locale already selected if it’s not the correct one. I selected “en_US.UTF-8 UTF8”. Navigate to “OK” and then hit “enter.” The next screen will prompt you to select the new default. After making your selection wait for a few minutes as this part is slow. NOTE: If prompted for a reboot, don’t reboot yet.

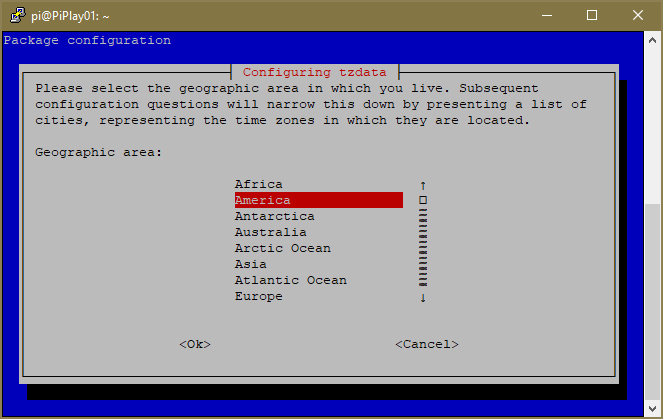
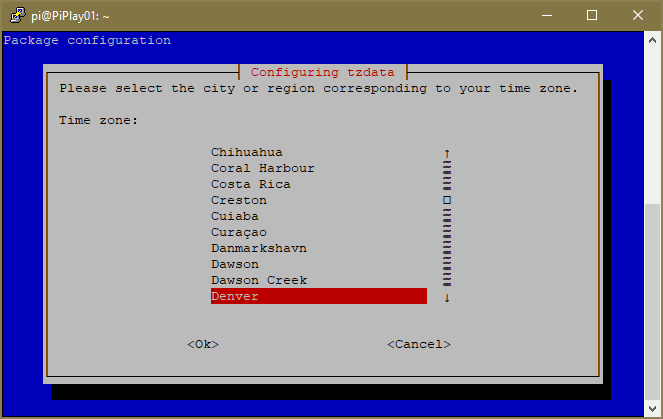
After changing the locale, navigate back to “Localization Options” and change your timezone. Select your country, then the major city near you or that matches your timezone.
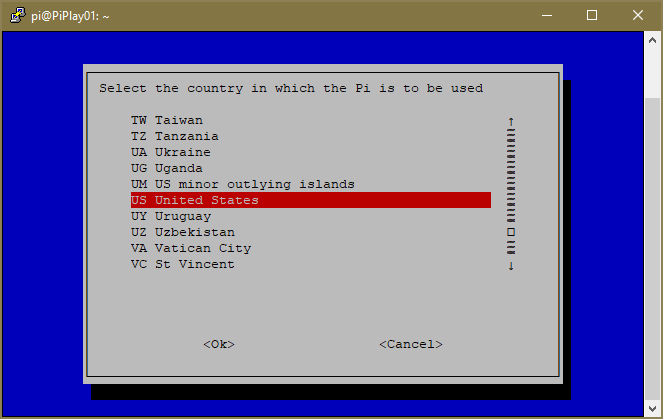
After changing your timezone, navigate to “Change Wi-Fi Country.” Find your country and select it. On the confirmation page select “OK”.
Now navigate to “Finish” and select it. If prompted for a reboot, reboot now. If not type in the following
$ sudo reboot
SSH and Password changes
Open the raspi-config panel again and navigate to “Change User Password”. An informational screen will popup, then it will take you back to Terminal. Type in a new password and tap enter. It will have you confirm the new password.

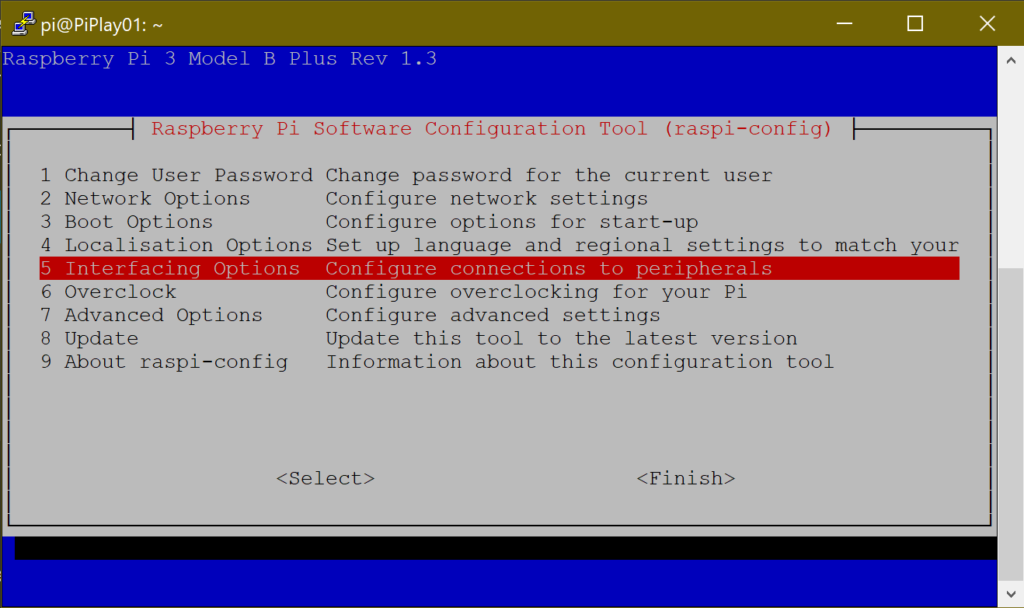
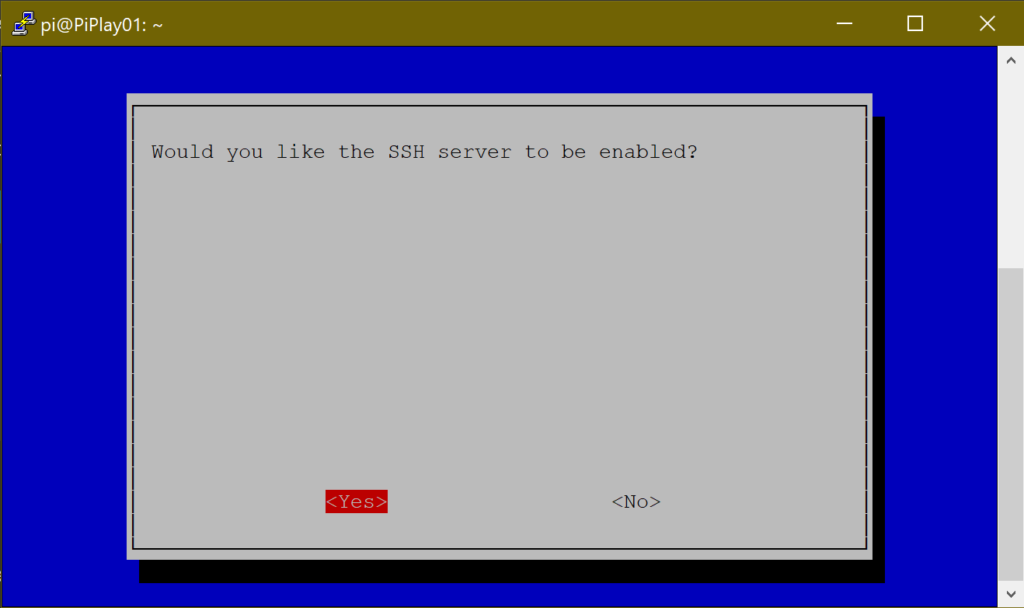
Now navigate to “Interfacing Options”. Then, select “SSH” from the list. When prompted to enable SSH, select “Yes”. Then select “OK” on the confirmation screen.

Finally, let’s add some new options for future use for SSH, and let’s change the port for SSH from the default. Select “Finish” and then decline the reboot. Once back in Terminal Type the following:
$ sudo cp /etc/ssh/sshd_config /etc/ssh/sshd_config.bak
$ sudo nano /etc/ssh/sshd_config
The first command backs up the config file, and the second will open the config file in the Nano editor. Use the arrow keys to scroll down the document. Locate the line #Port 22 and change it to Port 2222. This tells SSH to use port 2222 for SSH connections. If you plan on using keys to authenticate to the box later, scroll down further and find the line #PubKeyAuthentication Yes and delete the “#”. A few lines lower delete the “#” in front of #AuthorizedKeyFile .ssh/authorized_keys .ssh/authorized_keys2. The final changes should be as follows:
...
Port 2222
...
PubKeyAuthentication Yes
..
AuthorizedKeyFile .ssh/authorized_keys .ssh/authorized_keys2
...
NOTE: The changes won’t take place until you restart the SSH Daemon or restart the Pi.
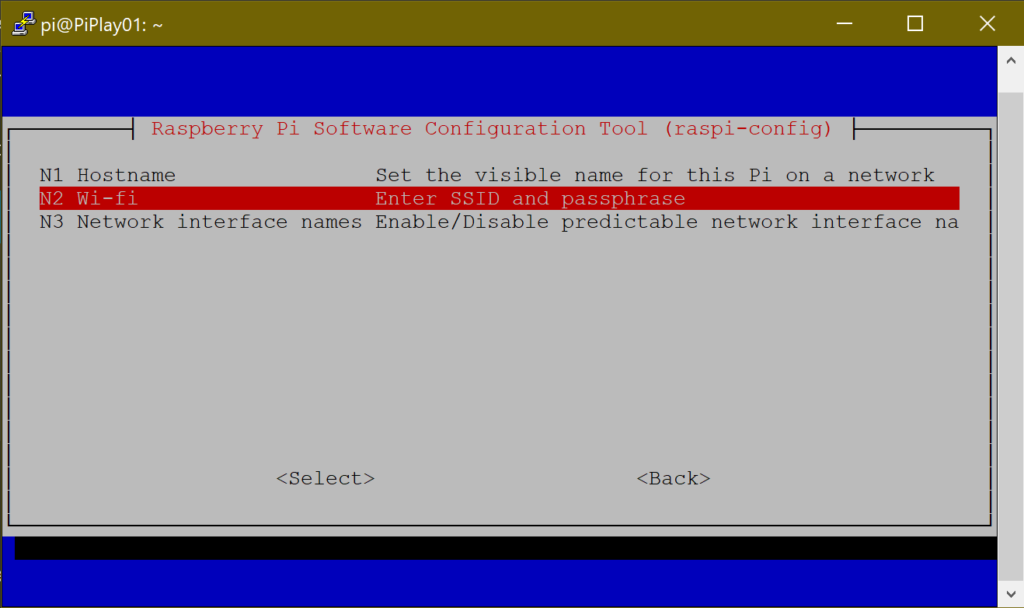
Rename the Pi and Setup Wi-Fi
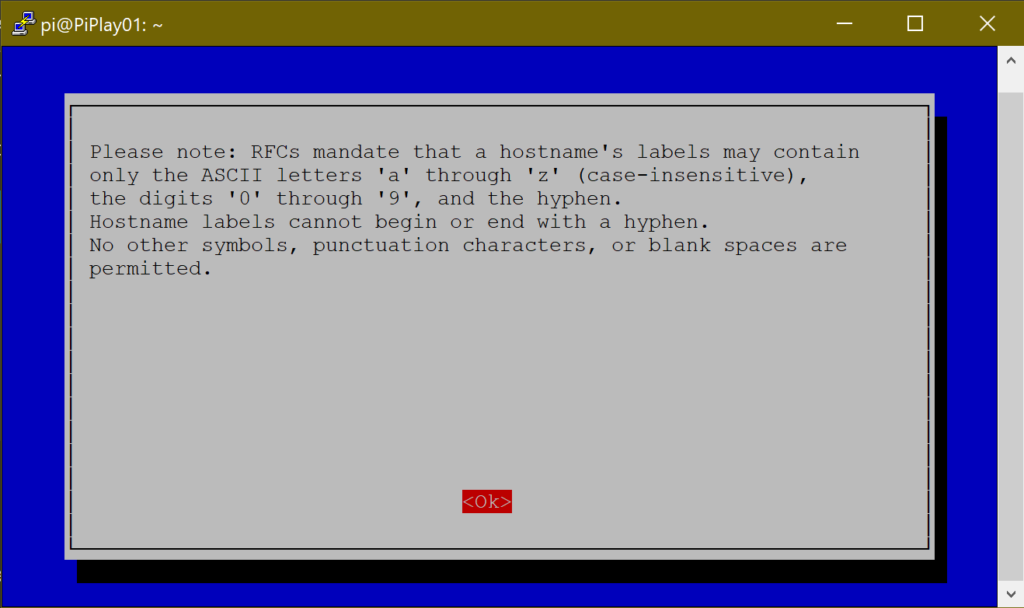
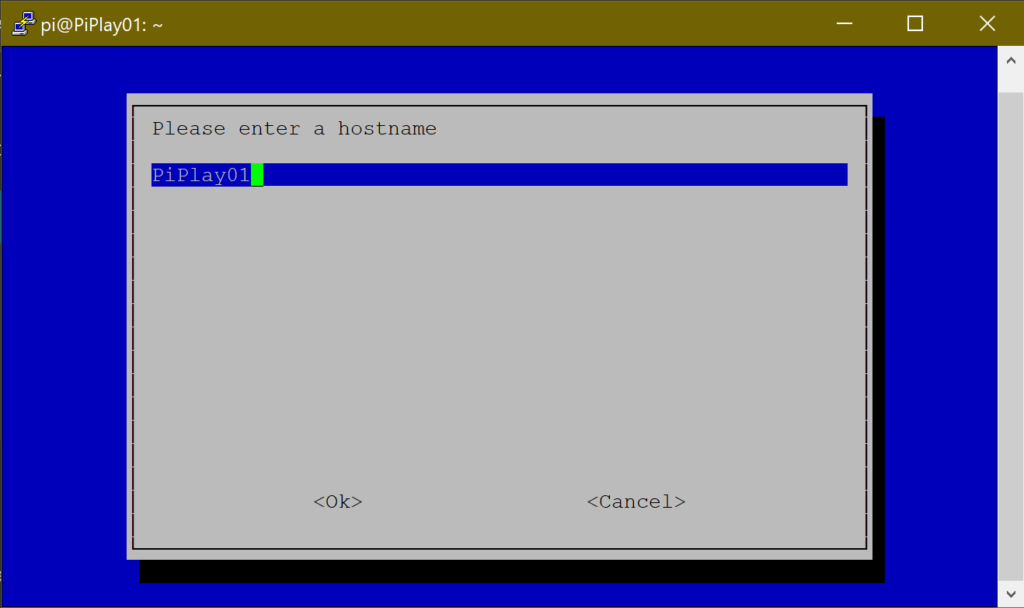
Open the raspi-config panel. Navigate to “Network Options” and select “Hostname”. Read the informational window and then select “OK”. Type in a meaningful name and select “OK”.
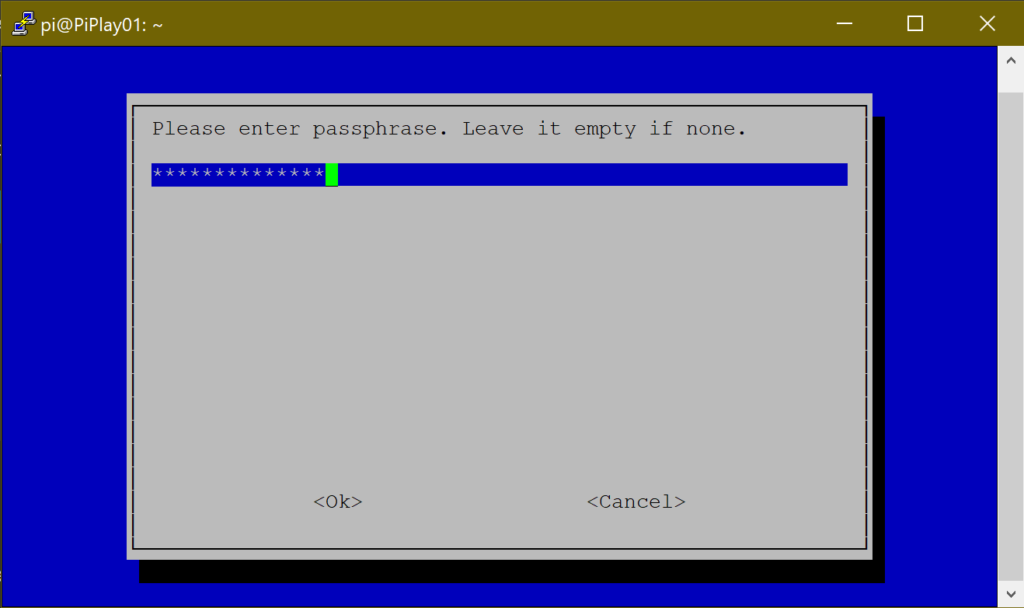
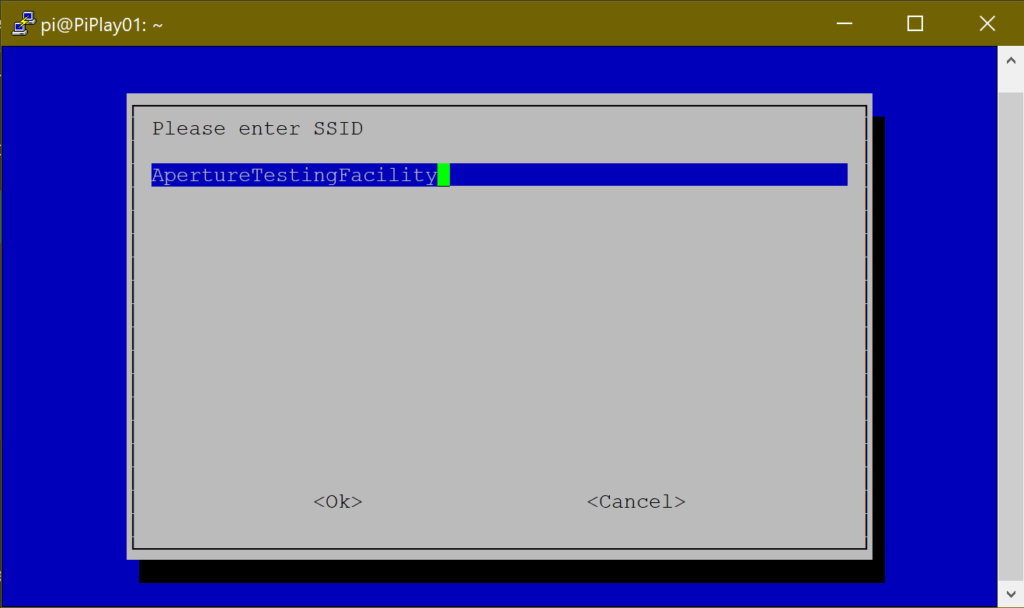
Now in the config panel select “Network Options” again. Then select “Wi-Fi”. Here, enter the SSID of your wireless network. Select “OK” and on the next screen enter the password for your wireless network. Then select OK. Select “Finish” and then reboot the Pi if prompted. If not prompted, run sudo reboot.
Conclusion
Now you can use Terminal or PuTTy to access your Pi over your network. The only final configuration would be to set a static IP address for the Pi, but I would only do this if there was a need for your project. If there isn’t, just use your router’s access list to find the IP address of the Pi. Thanks for reading and happy tinkering!